Custom-made for perfection
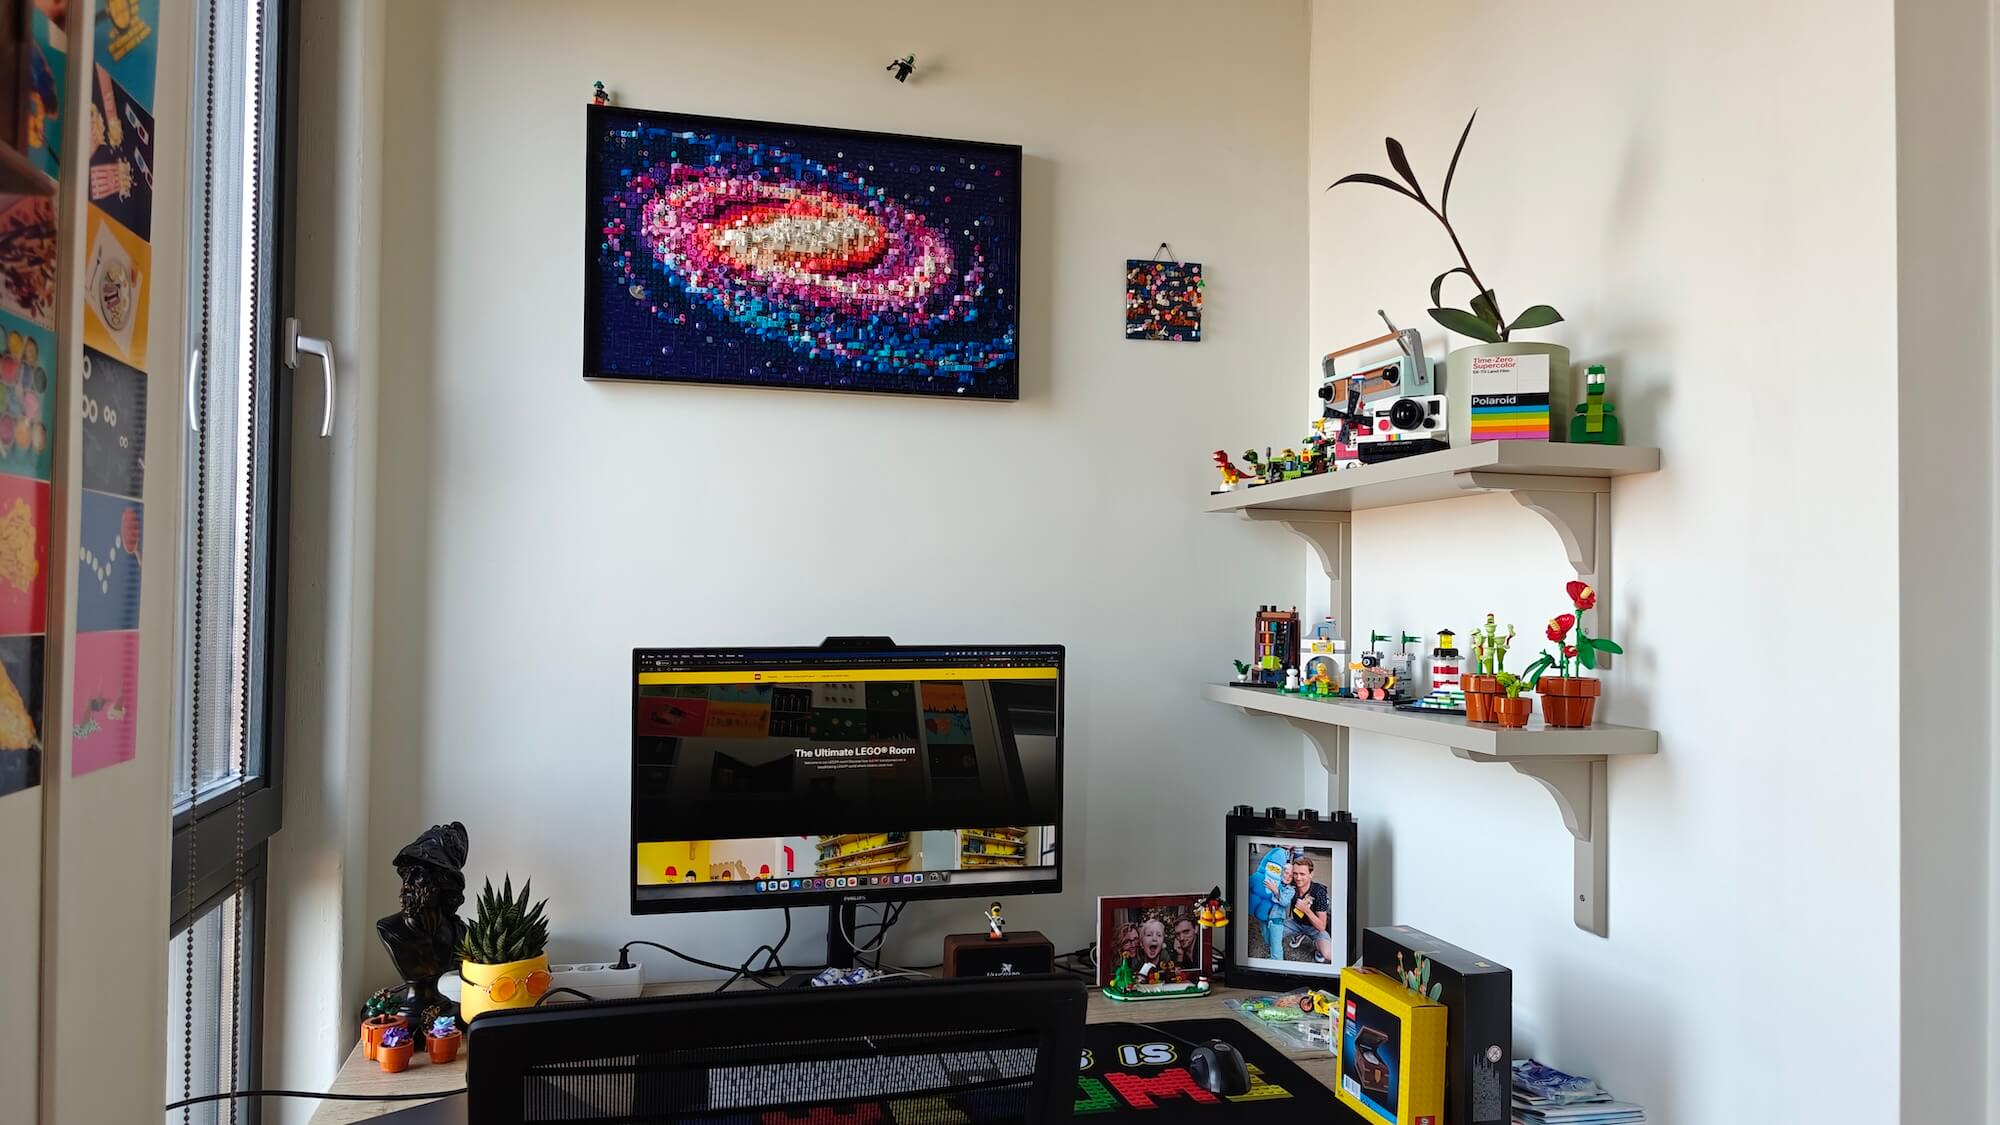
The display wall is built step by step with carefully designed custom shelves. With a practical yet stylish approach, these shelves serve as the perfect combination of storage, decoration, and display for LEGO®. The wall is not only a focal point in the room but also a functional solution to bring together fun and organization.
Accessible for young and old
The design takes all ages into account. The bottom two shelves are specifically reserved for LEGO® sets and storage that my son can easily reach. This makes the wall not just a place to admire, but also an invitation to actively play and build with LEGO®.
A place for every set
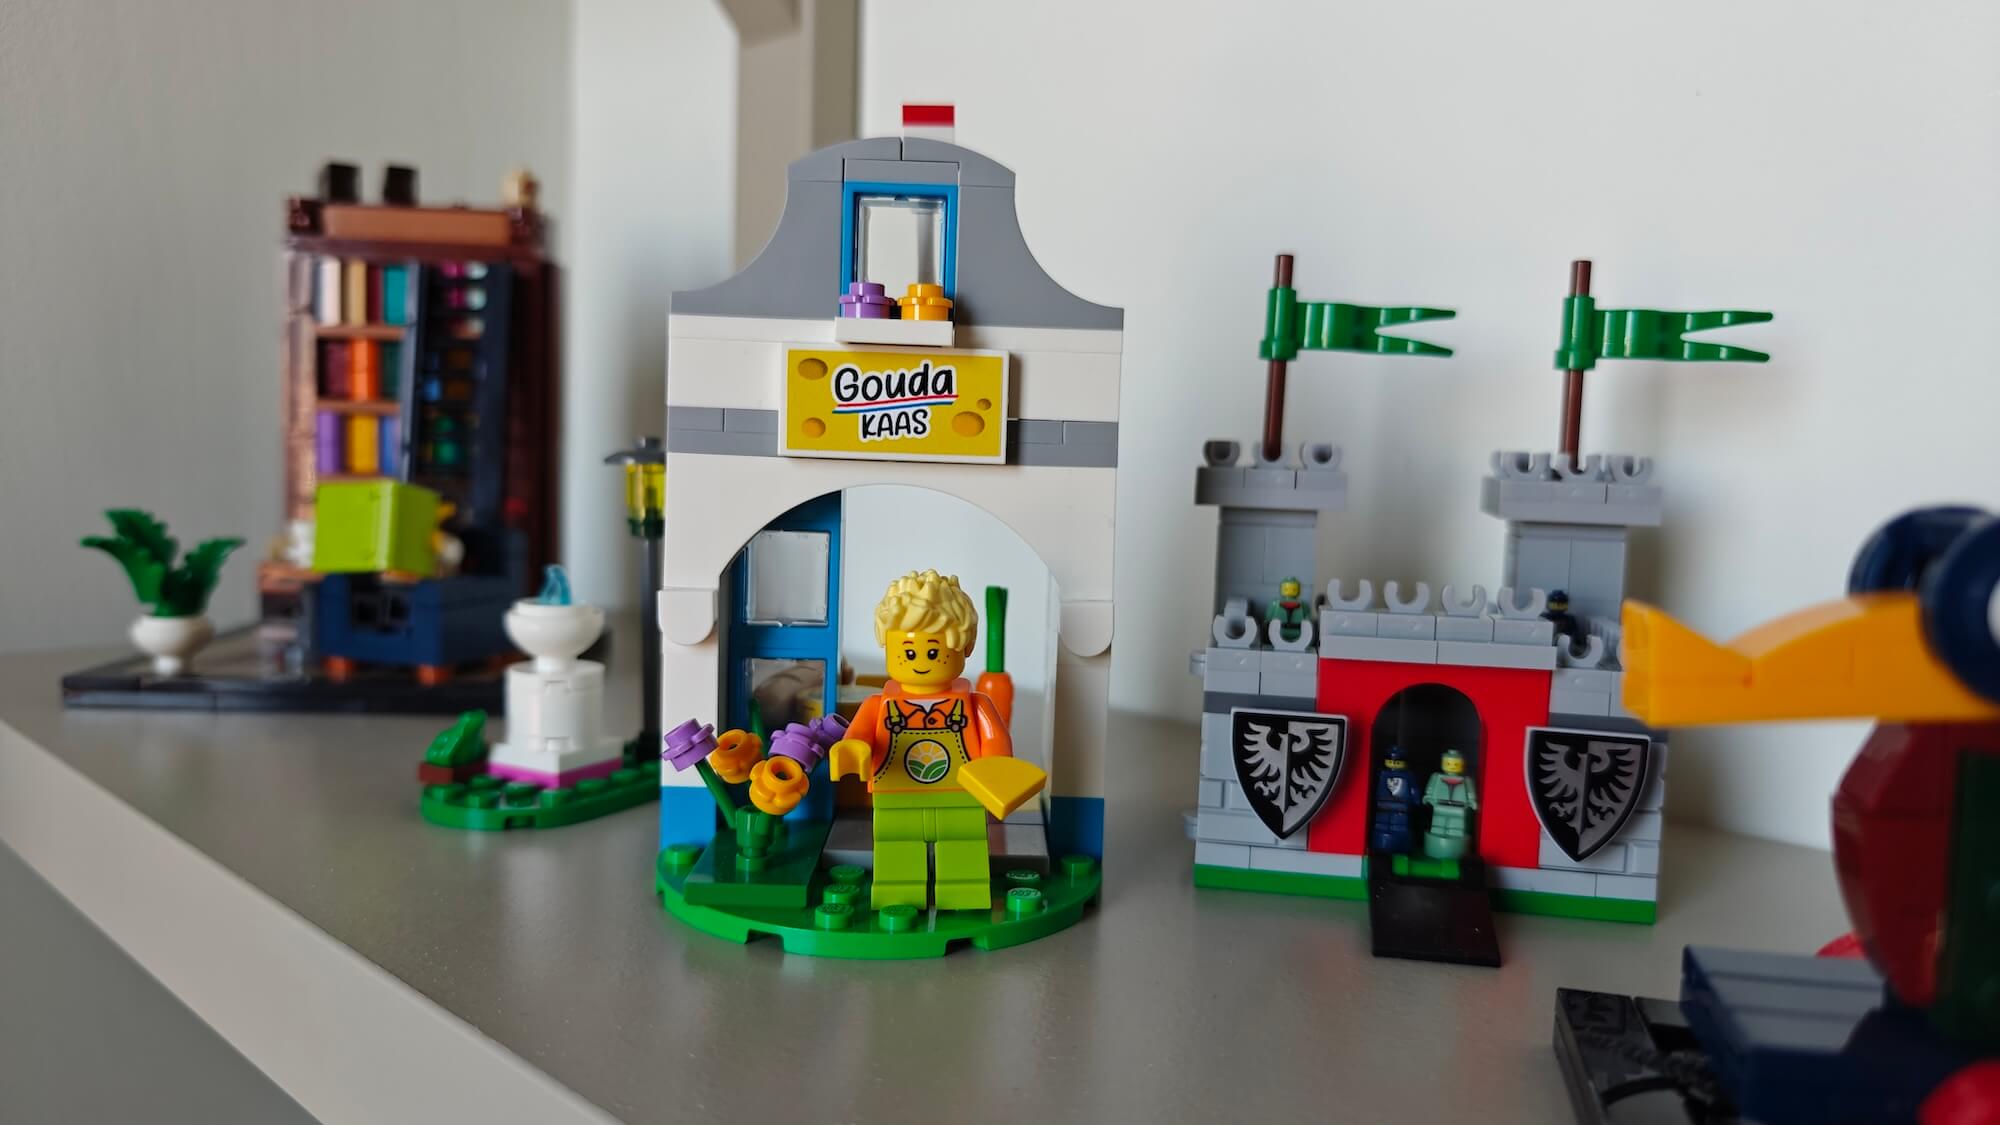
The layout of the wall ensures that each LEGO® set gets a spotlight. From small, colorful creations to the most impressive builds, everything has its own place where it can shine. The height differences and variation between shelves give a dynamic look and make the wall visually appealing.
Take a closer look at the LEGO® display wall setup
Getting started with your LEGO® exhibition
-
1. Painting the wall
Before I could do anything, I wanted the wall to be LEGO® yellow. However, the wall was green, so make sure to buy enough paint. I had to paint it four times before it looked right.
Mixing paint was easy at Gamma -
2. Buying the shelves
The shelves are beautiful sets from IKEA. I was lucky that the wall was just over 210cm wide, and the shelves were available in 120cm and 80cm sizes. They fit perfectly next to each other!
IKEA shelves are perfect -
3. Calculating the space
To determine the height and how many shelves I needed, I carefully considered the height of different sets. That’s why some shelves have more or less space. Don’t forget to sketch this out in advance to avoid mistakes.
-
4. Required tools and materials
The more shelves you add, the more important it is to ensure your wall is strong enough. This won’t work on a hollow wall. With a drill, level, screwdrivers, measuring tape, and a small ladder, you’ll get far. If you don’t know the location of pipes or wiring, a detector is also smart to use.
The Bosch Detector I used -
5. Think of your child
Part of the planning was that the bottom two shelves should be within reach of my son. Besides storage, those shelves mostly hold interchangeable LEGO® City sets he can play with.

