A Creative and Functional Foundation
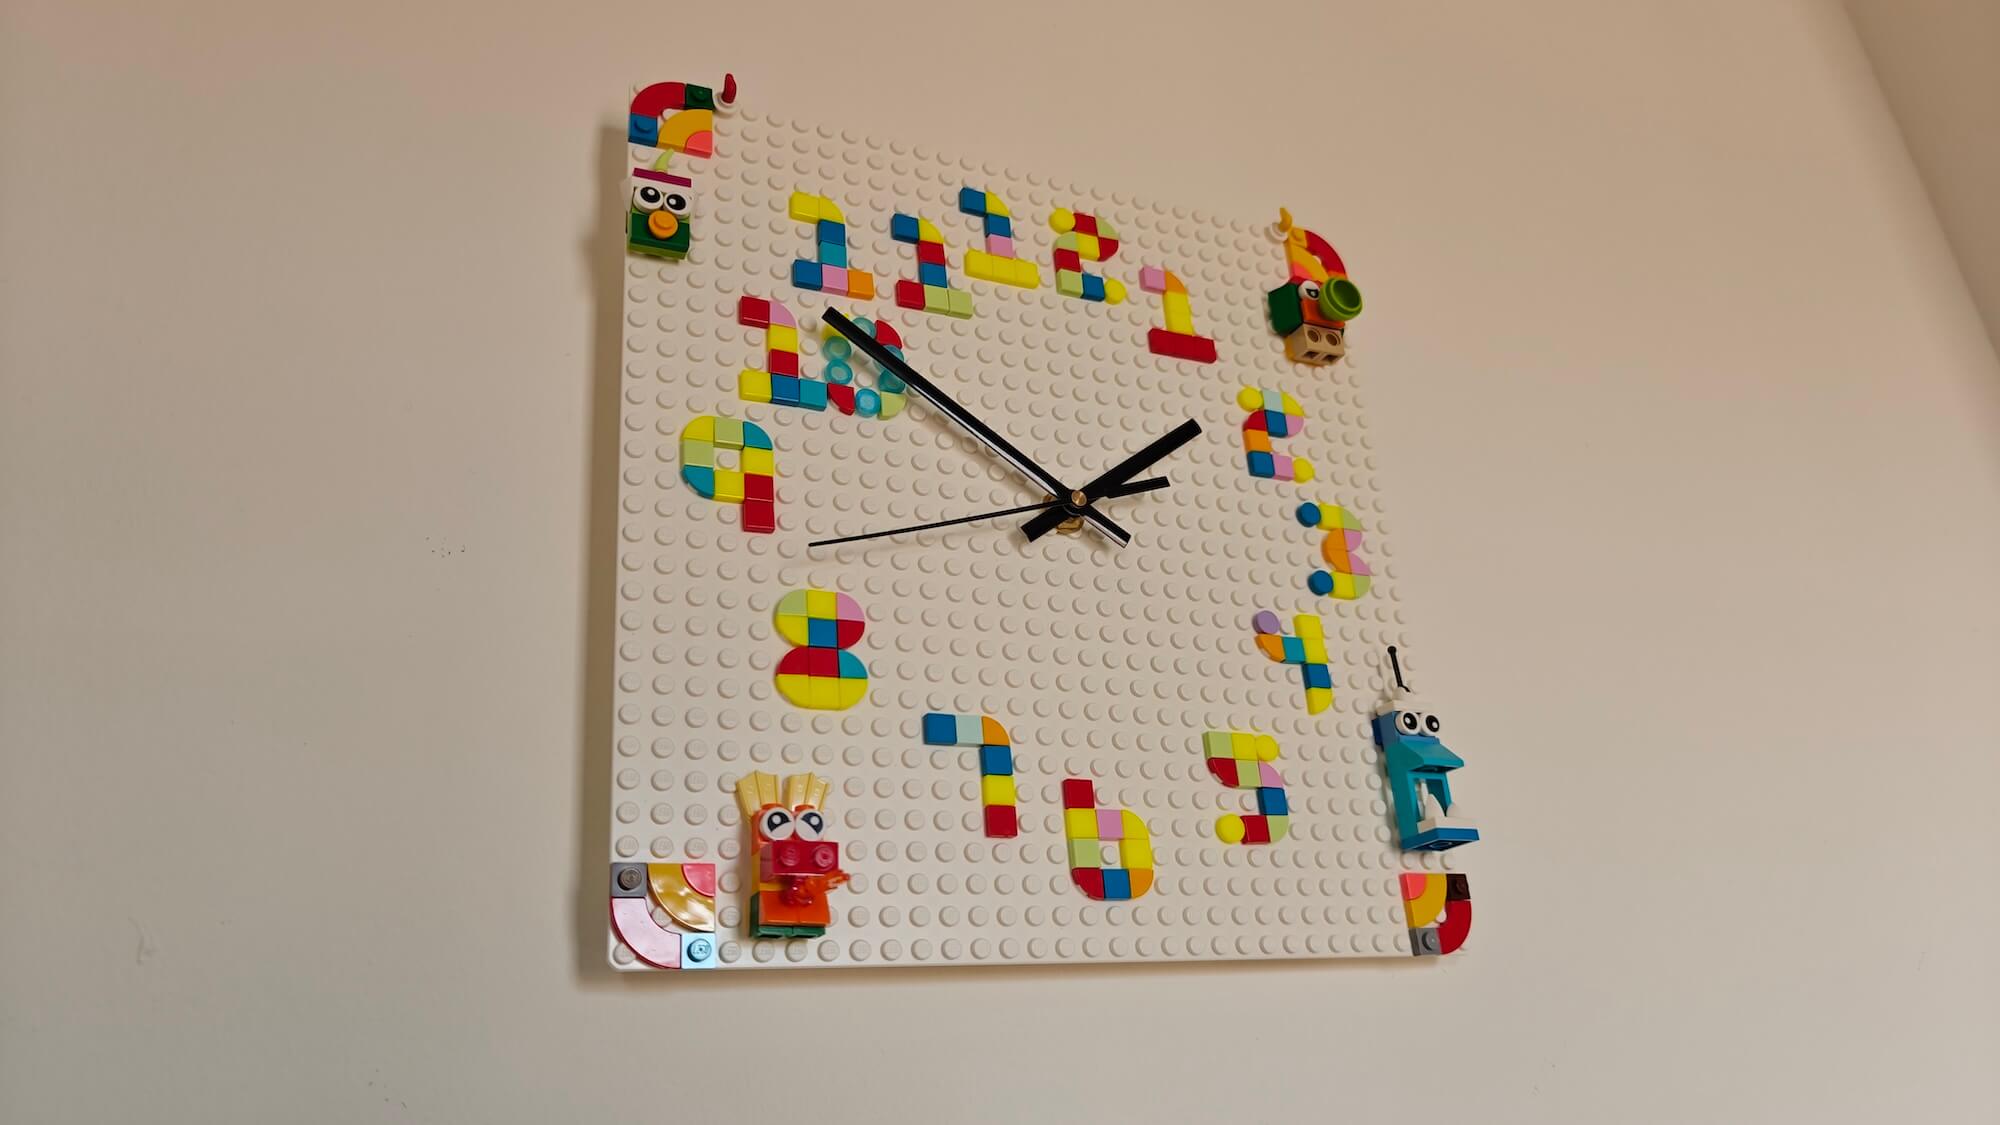
The LEGO® Brick Wall is one of the most prominent features in the space. Its sleek design is not only visually striking but also functional: it provides a dedicated place for your creations, always within reach.
The wall is carefully constructed to make the most of LEGO®. The base is a custom-cut MDF panel, painted in a bright yellow color that aligns well with the classic LEGO® aesthetic. Six base plates are firmly attached with Bison Kit. The red frame, made from LEGO® tiles, completes the look and gives the impression of an open frame for everything you build on it.
Space to Build and Store
Transparent bins from the hardware store hang under the base plates. They provide easy access and make it simple to organize and store parts. This way, it remains not only a playful spot but also a well-organized workspace.
The yellow color of the wall adds energy to the room without being overpowering. Together with the red frame, it creates a strong color contrast that encourages you to get started and build cool creations.
A Flexible Canvas
The wall is a blank canvas for anything you want to create: from small fun ideas to larger projects. The best part is that it can look completely different every time, depending on what you add or remove.
Each arrangement gives the wall a new and fresh look, and that’s undoubtedly one of the biggest advantages of the LEGO® Brick Wall!
A look at the construction process and creative possibilities
Create your own LEGO® Brick Wall
-
1. Choose the location and size
The best way to start is by using LEGO® base plates as your guide. Decide how many you’ll need and calculate the height and width based on that.
Base plates I used -
2. Buy an MDF board
I had the MDF board cut to size at the hardware store. I used the width of the base plates and added some height margins, because I wanted to mount storage bins below as well.
Buy an MDF board at your local hardware store -
3. Paint the MDF Board
For the color, I chose LEGO® yellow. At the hardware store, you can provide the color code (#fed503) and they’ll mix the paint for you. A small can is enough — you won’t need much. Don’t forget the sides, since they’ll be visible once the board is mounted on the wall.
-
4. Holes for Wall Mounting
As mentioned earlier, there’s space above and below the base plates — not only because storage bins go underneath, but also because you’ll need 6 holes (left, center, right) for securely mounting the board to the wall.
-
5. Attaching the Base Plates
The base plates need to be firmly attached, as you’ll be building on them. Use strong construction adhesive (like Bison Kit) to secure them. While it’s drying, it’s smart to connect the plates using bricks to keep everything in place and aligned.
-
6. The LEGO® bins
Once again, the hardware store comes in handy — that’s where I bought the bins. Make sure to pick bins that include a mounting system when you buy them.
The bins I used -
7. The frame of tiles
To frame the base plates, I used red tiles. Be sure to count accurately to make everything fit nicely, and use angled tiles or wedge plates to finish the corners cleanly.
Example of the loose tiles I bought

